| 12-19-2012, 01:10 AM | #1 |
|
Captain
 
74
Rep 991
Posts
Drives: E92 335, W463 G55
Join Date: Jul 2010
Location: Vineland, NJ
|
Write up of my recent H&R spring install
Hi, before taking this job on yourself, understand that I own a shop and have access to lots of different tools and equipment... please look over this write up before taking on a serious job such as this.... sometimes it's just easier to let the pros take care of it.
 Enjoy! Enjoy!Obviously if you have access to a lift, hoist up your beast, performing this via the jack method will be a lot more difficult and dangerous.  I'll only illustrate one side of front and one side of rear, but they are identical. A simple look at our working area.  This is a picture of the sway link that will need to be removed to be able to remove the strut and replace the springs.  A shot of the mounting bolt on the control arm.  Method I used to remove the nut on the sway link.  Sway link seperated and moved to the side to allow removal of strut.  Tools used for sway link removal  A shot of the top mount of the strut  Start by popping off rubber boot  Carefully remove the EDC plug and make sure not to damage.  EDC PLUG  Three bolts that hold the strut in place, these will have to be removed.  Bolts removed and strut free  Tools necessary for removal of the bottom bolt and nut that attach strut to lower control arm. I suggest you use air tools in this case (very hard to do by hand)  Attach as shown and use the wrench to hold the nut in place as you impact the other end to remove the bolt.  Top of strut seperated from the frame.  This part is a little tricky, but with some down force on the rotor/hub assembly and some finessing of the strut itself and you should be able to gently force the strut assembly free of the hub assembly.   Strut assembly removed  A shot of the top of the strut and socket I used to remove the 'twelve point' nut    ****IMPORTANT****** If you do not have access to one of these (spring compressor), stop and take your struts to a shop that has a spring compressor and have them do it for you for a nominal fee.... not worth losing an eye over... or worse, damaging your M5!!!! lol        Comparrison of the OEM spring and the H&R sport spring  Assemble the strut with the new H&R spring and use a impact gun to carefully snug the top nut   Reinstall the strut assembly and install mounting bolt and nut in lower control arm  Reinstall sway link  Align top mount to holes in frame. The srping will shift at this point with some force, get it nice and ligned up with the holes for easy reinstall.  Reinstall and tighten all bolts, and the EDC plugs and rubber boot... always be careful when handling the EDC wires and plugs.  LETS MOVE ON TO THE HARD PART.... THE REAR!!!!! Pop the rear seat backs via latches in the trunk  Remove cap ends of rear seat by pulling on the top of the caps and then sliding out... the rear seat bottom can be easily popped out of place as well.   Once you release the end caps and rear seat backs, you will need to pull out four push tabs in the suede rear deck  Next you'll have to remove the AIRBAG cap to expose the screw holding the trim in place... this part really set me back... finding the screw was a PIA!!!   Once you remove the screws behind the caps, and you may or may not have to remove three 8mm screws in the trunk, that may or may not hold the sun shade in place (I removed them, but just as a precaution, always be careful, if it doesn't come easy, there's some thing wrong!) The rear deck should be easily slid out now!  CAUTION!!!!!!------ when the seatbelt housings are upside down, they will lock... the assemblies will think that the car is upside down... this is important when re-assembling the rear deck! You need to leave yourself room to be able to flip the rear deck and upright the seatbelt assy's. You'll have to remove this screw to release the seatbelt assy.   This here is the rear strut mounting nuts and studs! Do NOT pull on the EDC wire on the rear struts!!!!!! They are perminantly attached... you will have to detach them from harness and fish them out with strut!!!!  This is a picture of what to expect in rear strut set up.... Take notice of the red arrows below. This stabalizing arm will need to be loosened and moved aside to be able to slide the strut assy out!!!!!!  This is the bolt that holds the strut connected to rear hub!.. Remove this.   Next you will loosen the top nuts to release the strut.  At this point you'll be able to work the rear strut out from behind the rear hub. Again pay close attention to not damage the EDC wire. You will need to again seperate the OEM spring from the strut assy, and install the new H&R spring, reassemble, and reinstall the strut assy with the new spring and reassemble the rear deck, seat backs, and other trim. BELOW ARE SOME B4 and after pics... enjoy!!!!! 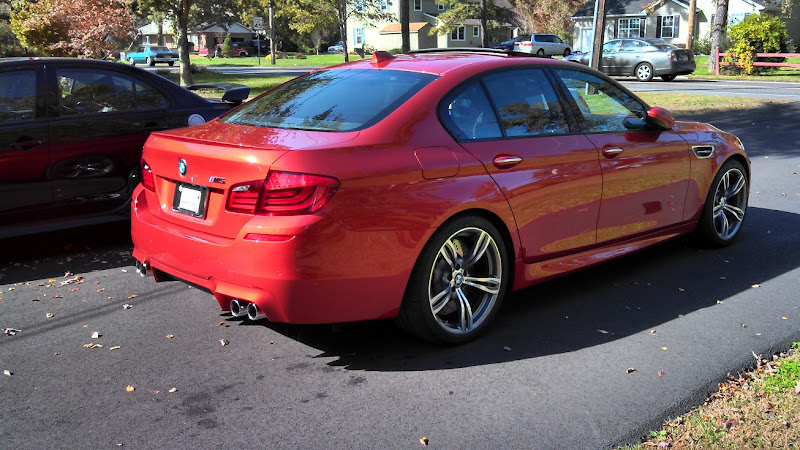 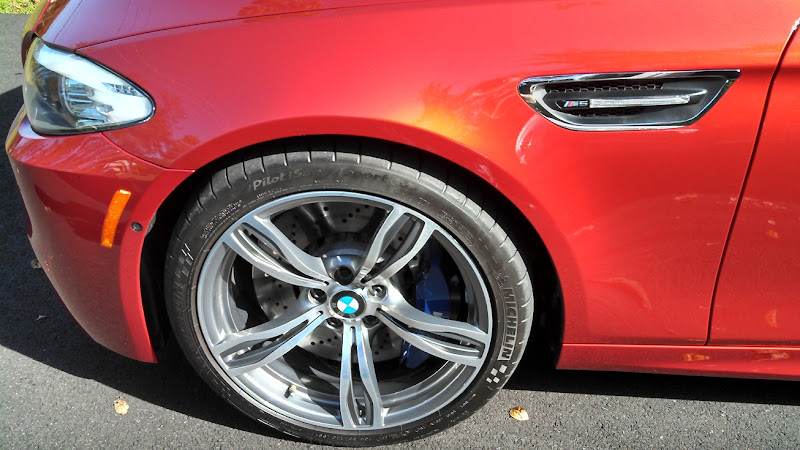  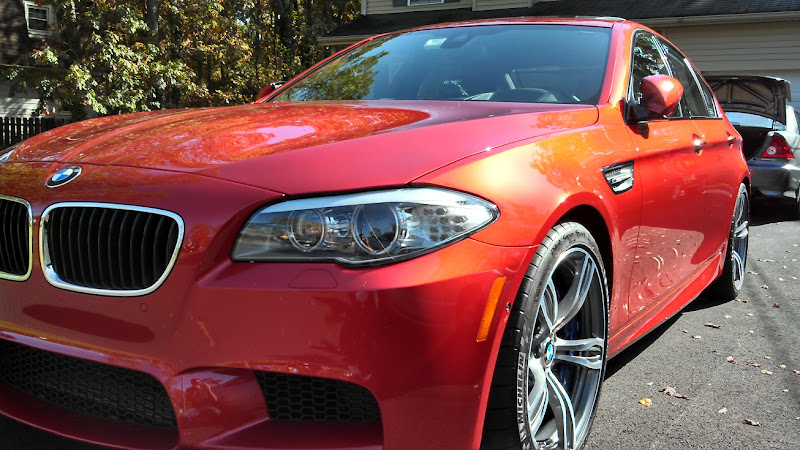 AFTER H&R SPRINGS    
__________________
 |
| 12-19-2012, 04:07 AM | #2 |
|
Internet Crash Test Dummy
346
Rep 1,055
Posts
Drives: F97 X3MC / F80 M3 / F90 M5
Join Date: Mar 2006
Location: Under a rock in NH and BOS
|
Nice job and wrietup !
__________________
21 F97 X3MC Toronto Red/Black and more | 18 F80 M3 Tanzanite Blue/Amaro/CCB and more
15 F10 M5 Individual / Brilliant White / Extended/Full Cohiba Brown (Exec/Driver/B&O/20") / A few Euro add-ons / Stealth K40 / Upgraded B&O / ///M Performance Carbon Interior Trim / IND / Akrapovic Evolution Exhaust / HRE S107  |
|
Appreciate
0
|
| 12-19-2012, 10:28 AM | #4 |
|
Major
 78
Rep 1,341
Posts
Drives: 2013 M5 SSII
Join Date: Aug 2012
Location: San Diego
|
Looks great!
I've read varying opinions...do the H&Rs get rid of the thunk noise in the trunk when going over speed bumps? Thx
__________________
 |
|
Appreciate
0
|
| 12-19-2012, 10:32 AM | #5 | |
|
Perennial PFC
348
Rep 1,277
Posts |
Great job!
Quote:
|
|
|
Appreciate
0
|
| 12-19-2012, 10:52 AM | #6 | |
|
Captain
74
Rep 991
Posts
Drives: E92 335, W463 G55
Join Date: Jul 2010
Location: Vineland, NJ
|
Quote:
__________________
|
|
|
Appreciate
0
|
| 12-19-2012, 10:57 AM | #7 | |
|
Captain
74
Rep 991
Posts
Drives: E92 335, W463 G55
Join Date: Jul 2010
Location: Vineland, NJ
|
Quote:
__________________
|
|
|
Appreciate
0
|
| 12-19-2012, 11:01 AM | #8 | |
|
Major
78
Rep 1,341
Posts
Drives: 2013 M5 SSII
Join Date: Aug 2012
Location: San Diego
|
Quote:
__________________
|
|
|
Appreciate
0
|
| 12-20-2012, 08:10 AM | #12 | |
|
Captain
74
Rep 991
Posts
Drives: E92 335, W463 G55
Join Date: Jul 2010
Location: Vineland, NJ
|
Quote:
__________________
|
|
|
Appreciate
0
|
| 12-24-2012, 10:36 AM | #13 |
|
Lieutenant General
 21731
Rep 10,707
Posts |
Great writeup and pics, I had my springs installed in October and everything is good but one thing: my autoleveling headlights. They seem to be over adjusting and adjusting too much. When I drive straight they dip often and then pop back up and are relatively too high.
Was there a sensor or wire that might have been incorrectly reinstalled during my lowering process that you might know about? Thanks for your assistance here.
__________________
2025 BMW M4 Competition Frozen Black Metallic
2024 BMW M3 CS Frozen Solid White 2022 Porsche Carrera GTS Coupe Shark Blue 2020 Audi R8 V10 Performance Suzuka Gray 2012 Mercedes Benz C63 AMG Black Series Obsidian Black |
|
Appreciate
0
|
| 12-24-2012, 05:01 PM | #14 | |
|
Captain
74
Rep 991
Posts
Drives: E92 335, W463 G55
Join Date: Jul 2010
Location: Vineland, NJ
|
Quote:
If I'm not mistaken the sensor for the lights is on the rear control arm of the rear driver wheel. It's a little plastic assembly consisting of two plastic bars and one attaches to control arm, the other to a sensor with a pivot point to allow for compression. It in essence measures the distance the body travels when under load or weight, ie. Extra passengers in rear. The pivot point should be towards the wheel. If it was disconnected for reasons of strut fitment/removal, there is a chance it was inverted at time of reassembly. See pic below, it is in the far right and i actually disconnected this particular assy and in the picture the elbow is facing the wrong way, should be towards wheel. If i am wrong, some one correct me.
__________________
|
|
|
Appreciate
0
|
| 12-24-2012, 09:12 PM | #15 |
|
Lieutenant General
21731
Rep 10,707
Posts |
Thank you so much... Ill have it checked on the 26th and report and thank back
__________________
2025 BMW M4 Competition Frozen Black Metallic
2024 BMW M3 CS Frozen Solid White 2022 Porsche Carrera GTS Coupe Shark Blue 2020 Audi R8 V10 Performance Suzuka Gray 2012 Mercedes Benz C63 AMG Black Series Obsidian Black |
|
Appreciate
0
|
| 12-29-2012, 11:18 AM | #16 | |
|
Lieutenant General
21731
Rep 10,707
Posts |
Quote:
You were absolutely right- the elbow on mine was facing inward. We didnt do an uninstall we just pushed the elbow the other way and now it faces the wheel and my lights dont go crazy anymore. Thanks again.
__________________
2025 BMW M4 Competition Frozen Black Metallic
2024 BMW M3 CS Frozen Solid White 2022 Porsche Carrera GTS Coupe Shark Blue 2020 Audi R8 V10 Performance Suzuka Gray 2012 Mercedes Benz C63 AMG Black Series Obsidian Black |
|
|
Appreciate
0
|
| 12-29-2012, 04:34 PM | #17 |
|
Captain
74
Rep 991
Posts
Drives: E92 335, W463 G55
Join Date: Jul 2010
Location: Vineland, NJ
|
Good to hear. I almost did the same thing when re installing, reason it struck a note when you said what you had done to car and what was going on. Enjoy
__________________
Last edited by chudak18; 12-29-2012 at 04:42 PM.. |
|
Appreciate
0
|
| 01-20-2013, 09:44 AM | #18 |
|
Colonel
 
196
Rep 2,245
Posts
Drives: '16 991.1 911 GTS, '16 F85 X5M
Join Date: Apr 2012
Location: NNJ
|
Chudak - so your shop, would u do spring installs on the M5?
__________________
2016 991.1 911 Carrera GTS
2016 F85 X5M - Carbon Black/Mugello Red |
|
Appreciate
0
|
| 01-21-2013, 12:32 PM | #19 |
|
Captain
15
Rep 652
Posts |
Excellent write-up. Although this should be just as accomplishable in one's own garage using hand tools, jacks, jack stands and a DIY spring compressor. Are there specific reasons you recommend only using a $800 spring compressor? My buddies and I have done many coilover installs using the $50 set from Sears.
BTW We plan on doing your same setup on a '13 M5 this coming weekend. The before-after is amazing! |
|
Appreciate
0
|
| 01-25-2013, 11:18 PM | #20 | |
|
Major
238
Rep 1,094
Posts
Drives: 09 SC E90 M3 / 13 F10 M5
Join Date: Sep 2011
Location: Dallas, TX
|
Quote:

__________________
 |
|
|
Appreciate
0
|
| 01-26-2013, 11:18 PM | #21 | ||
|
Captain
74
Rep 991
Posts
Drives: E92 335, W463 G55
Join Date: Jul 2010
Location: Vineland, NJ
|
Quote:
 Quote:
__________________
|
||
|
Appreciate
0
|
| 02-04-2013, 12:29 PM | #22 |
|
Captain
15
Rep 652
Posts |
Took us about 5.5 hours in my garage Saturday. Your write-up was great guidance.
__________________
2009 BMW E92 M3 | Jet Black / Fox Red, Extended - SOLD | Akrapovic Evolution - SOLD | MS Filter | StopTech ST60 / ST40, yellow | KW CS | 90mm stud conversion | 18x10F 18x10.5R HRE R43, Continental rubber | IND appearance package incl. key delete | JL Audio 10W6v3 (2) / HD700/1, Technic's harness
|
|
Appreciate
0
|
Post Reply |
| Bookmarks |
|
|