

| 06-02-2015, 05:09 PM | #1 |

1765
Rep 7,650
Posts |
IND | Kohlenstoff Rear Diffuser DIY
Kohlenstoff Rear Diffuser Walkthrough
Up to this point, the aftermarket support for the F8X has been nothing short of stellar. Manufacturers and tuners alike have responded in a grand way and are delivering product to fill nearly everyones individual preferences. One such piece that was recently released is the Kohlenstoff LED equipped rear diffuser. Drawing inspiration from the circuit, this diffuser is equipped with a center mounted LED strip that is triggered by engaging the brake. Below is a general installation guide for the Kohlenstoff rear diffuser. As always, we welcome feedback and alternatives. There are many ways to install components and the guide below provides insight into how our technicians remove these pieces. If at any point you do not feel comfortable with the installation process, then contact a body shop or your local BMW dealer for assistance. 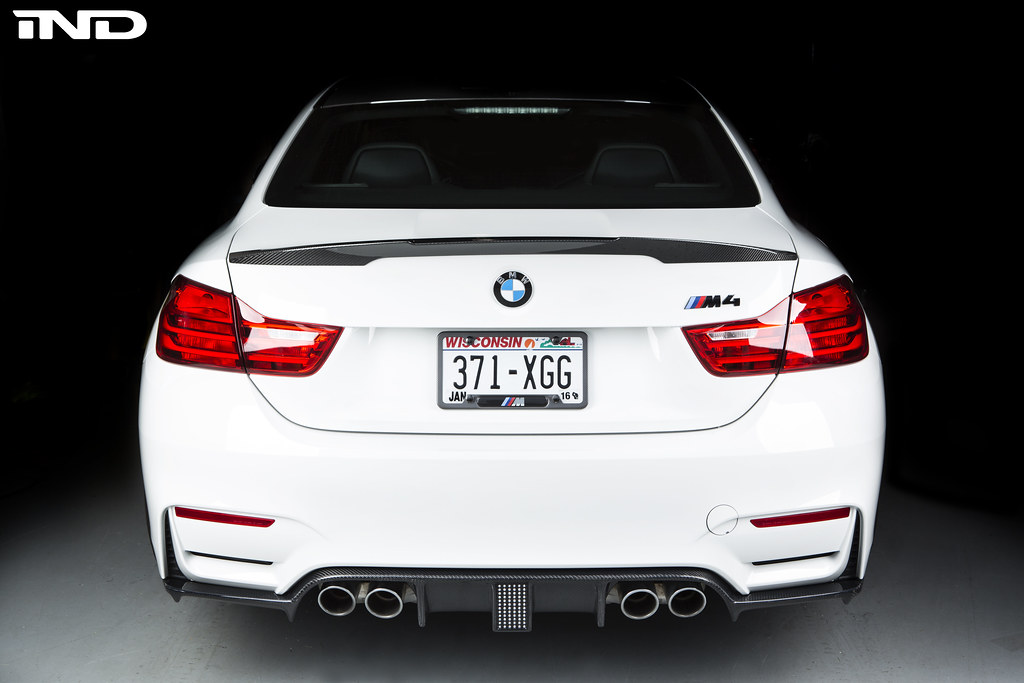 Tools required:
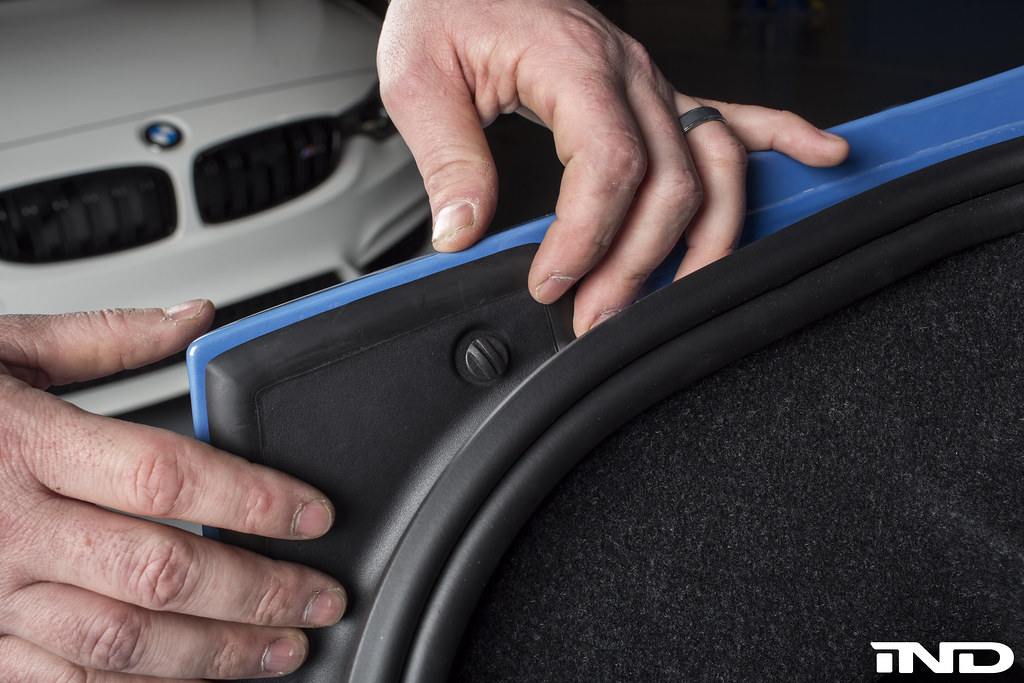
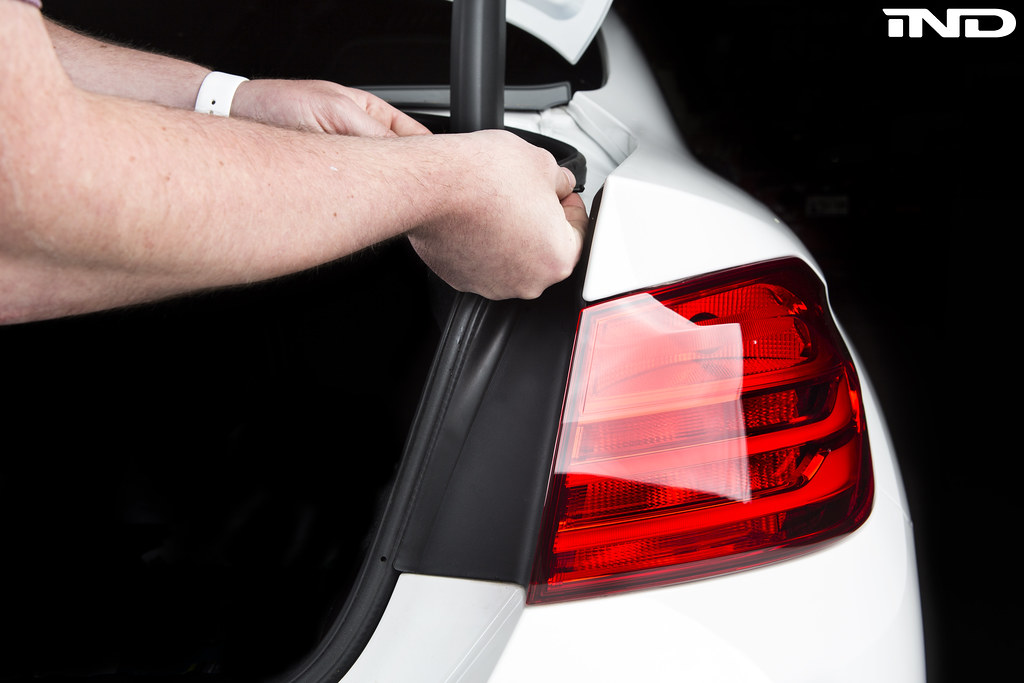
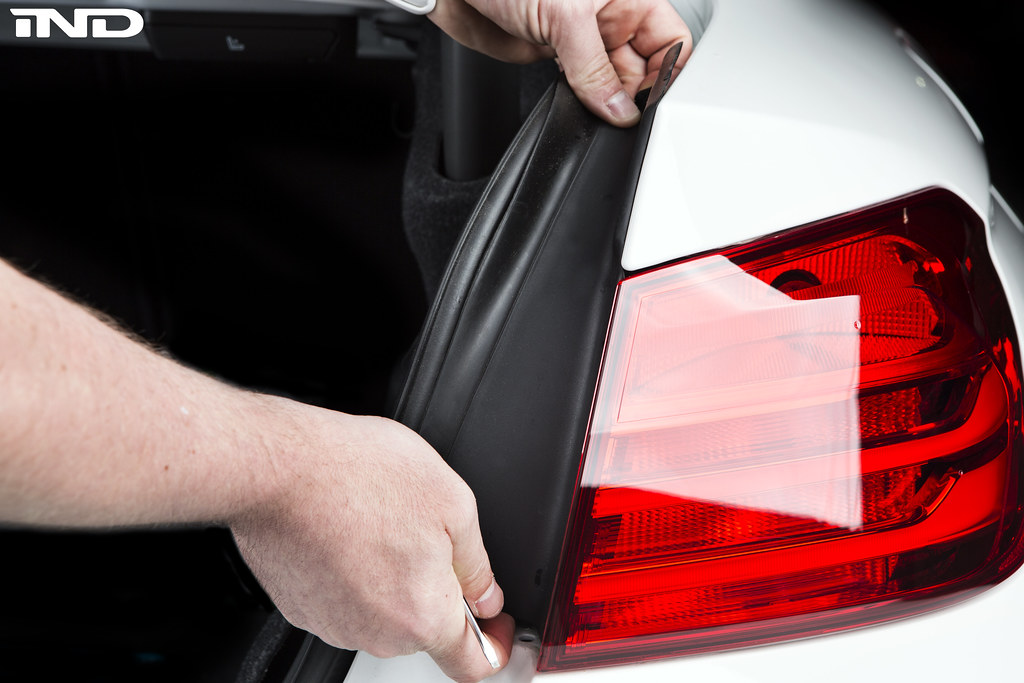
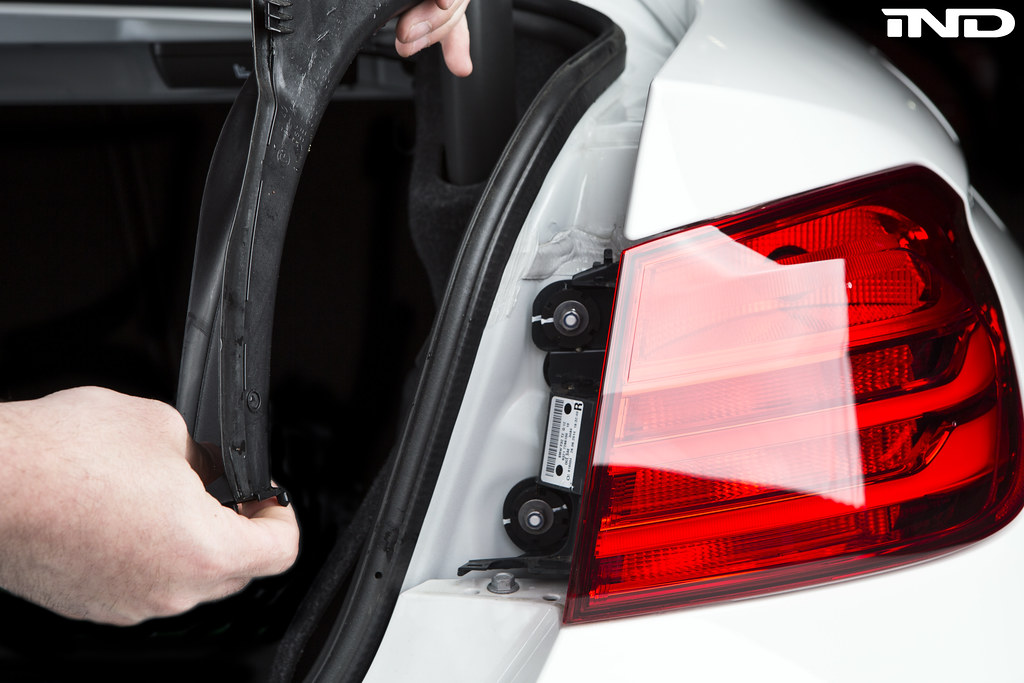
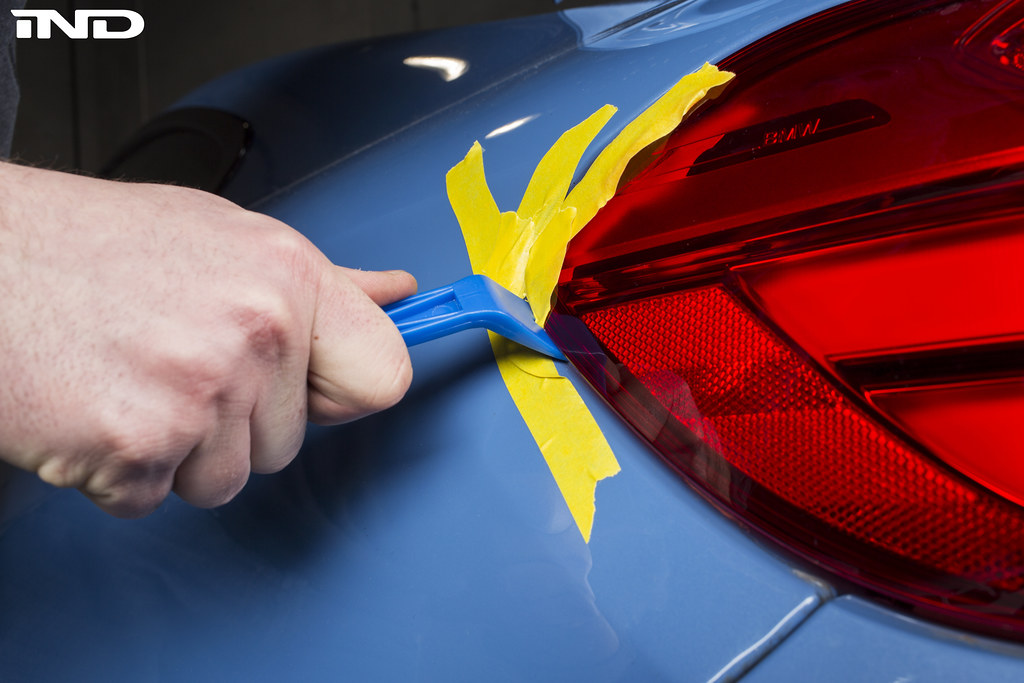
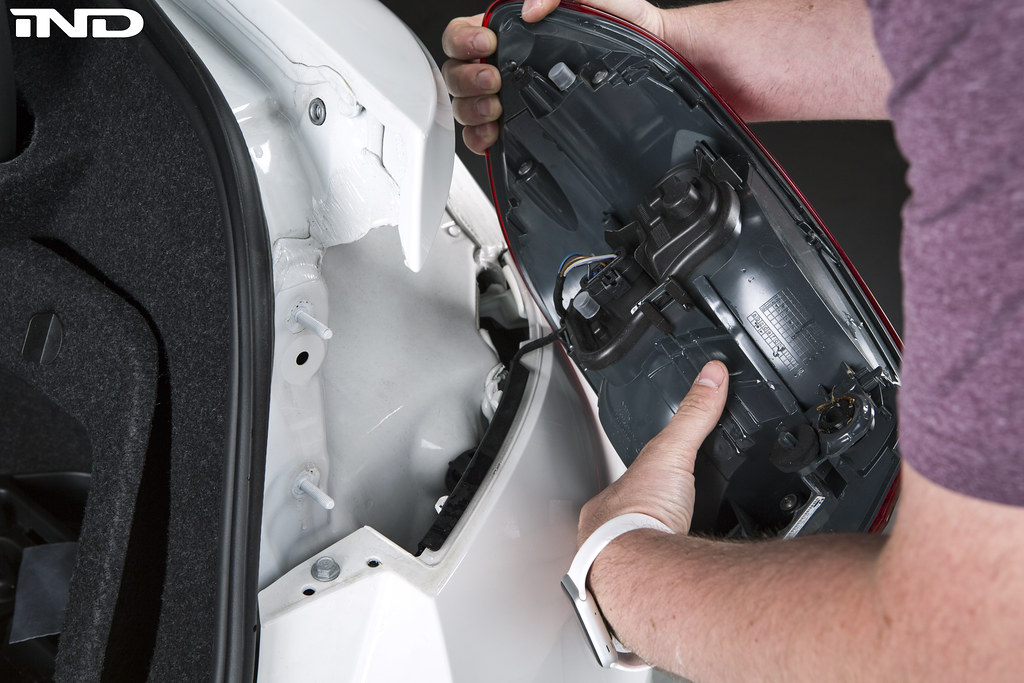
Step 1 Remove Passenger Taillight
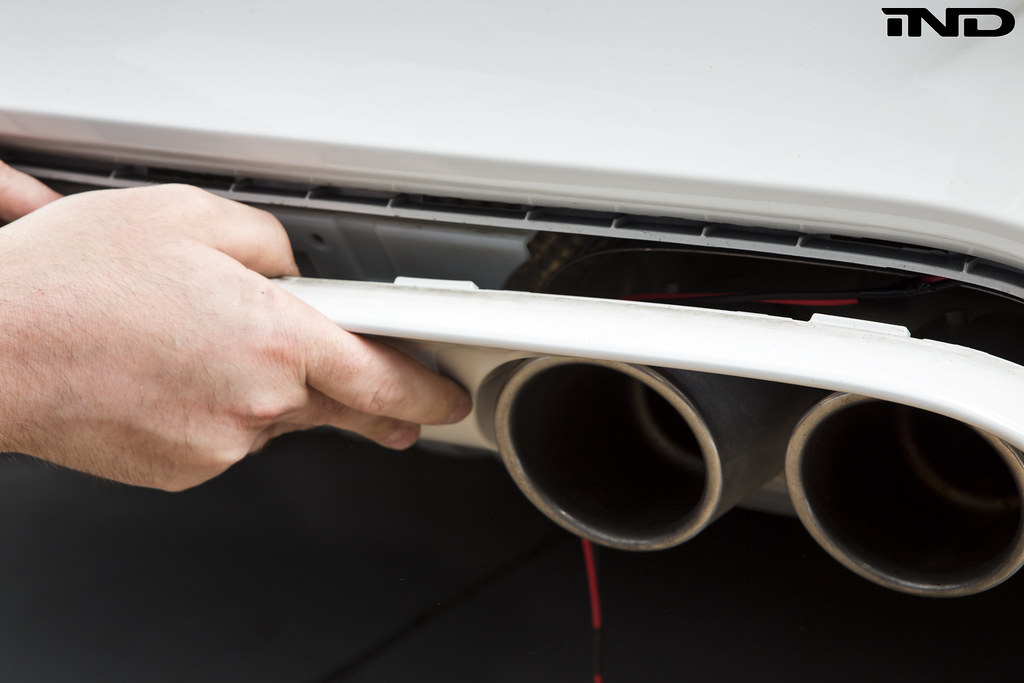
         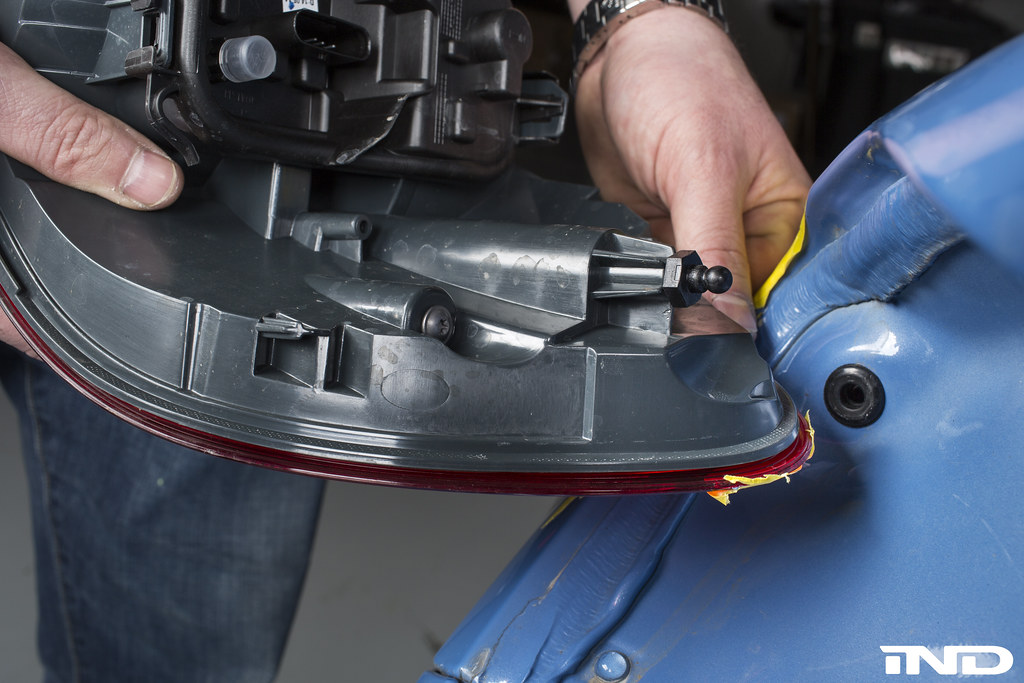 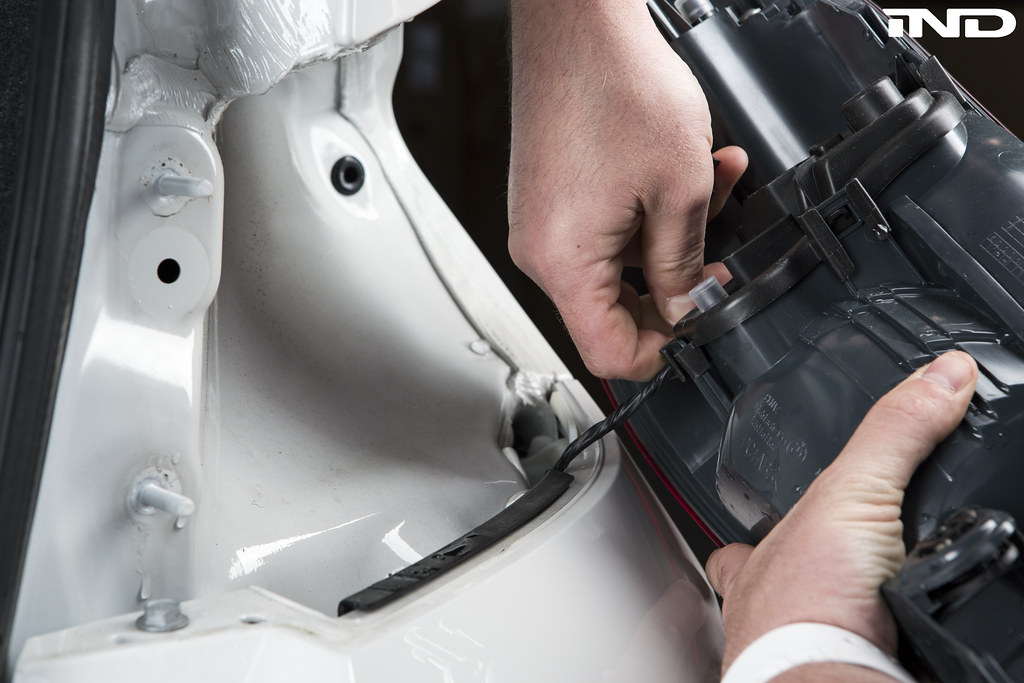 Step 2: Now that the passenger taillight is removed, the next step is to feed the power and ground wire that will be used on the Kohlenstoff LED module. Feed the wire through the opening at the base of the passenger taillight area. 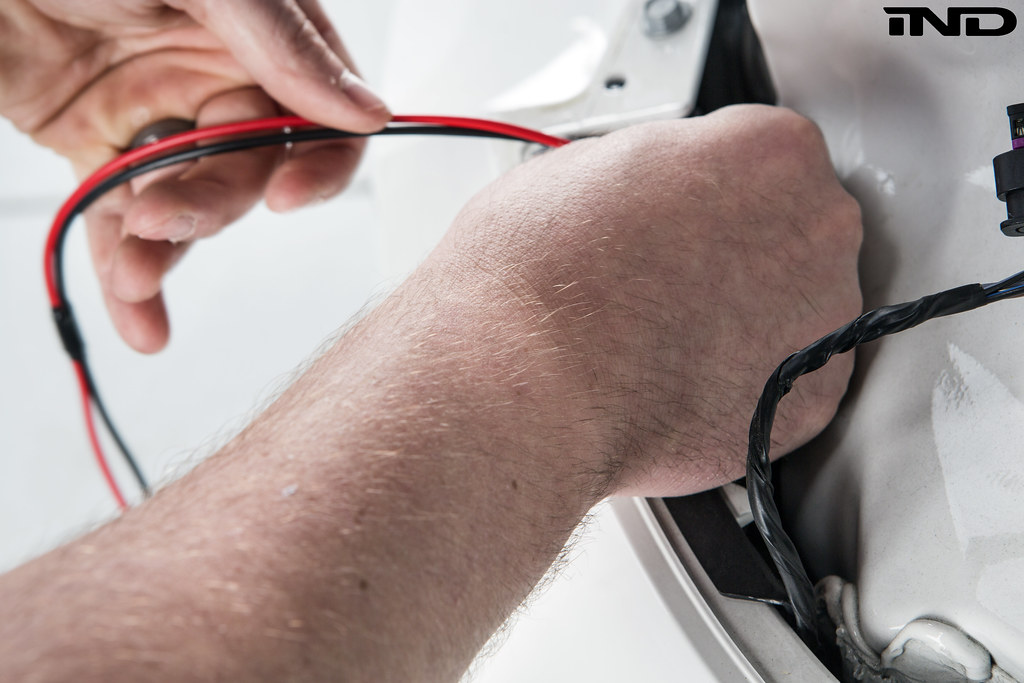 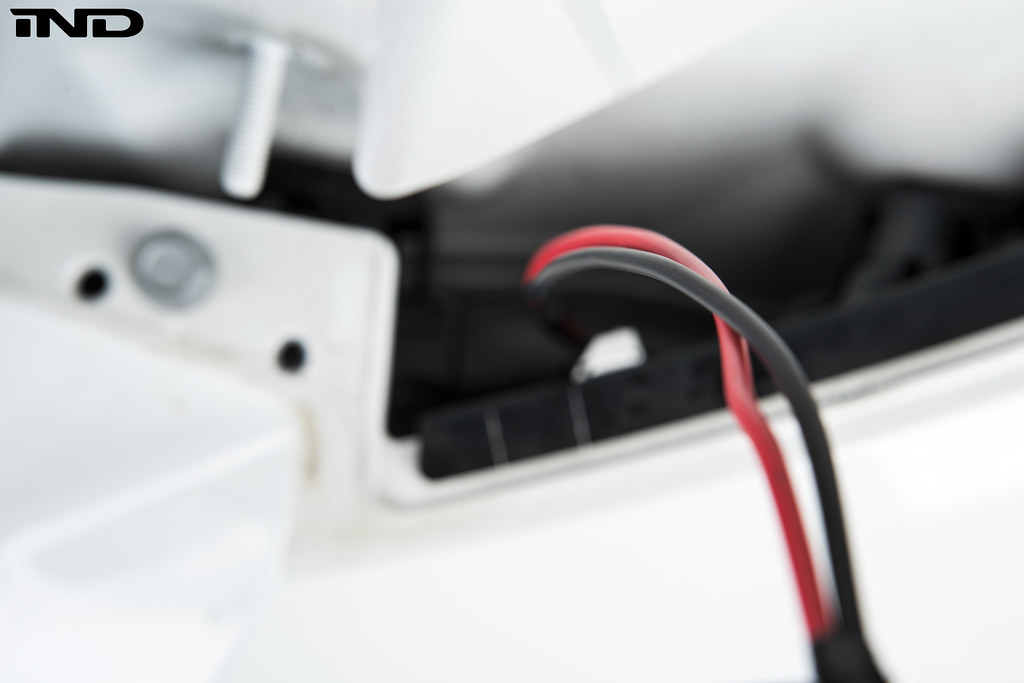 Step 3: Work on feeding the wires through the passenger exhaust outlet. As you can see from the photos below, we draped them directly over the passenger exhaust tips. This will give you a good straight line connection to the Kohlenstoff module. ***PLEASE ENSURE THAT YOU HAVE PLENTY OF SLACK ON BOTH ENDS OF THE WIRES*** 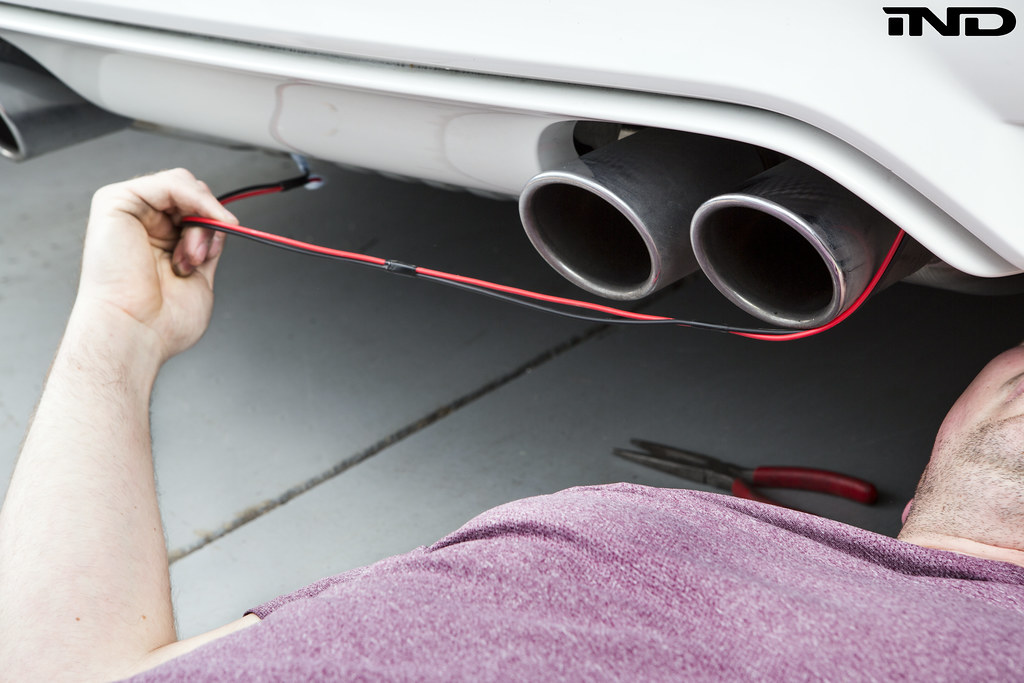 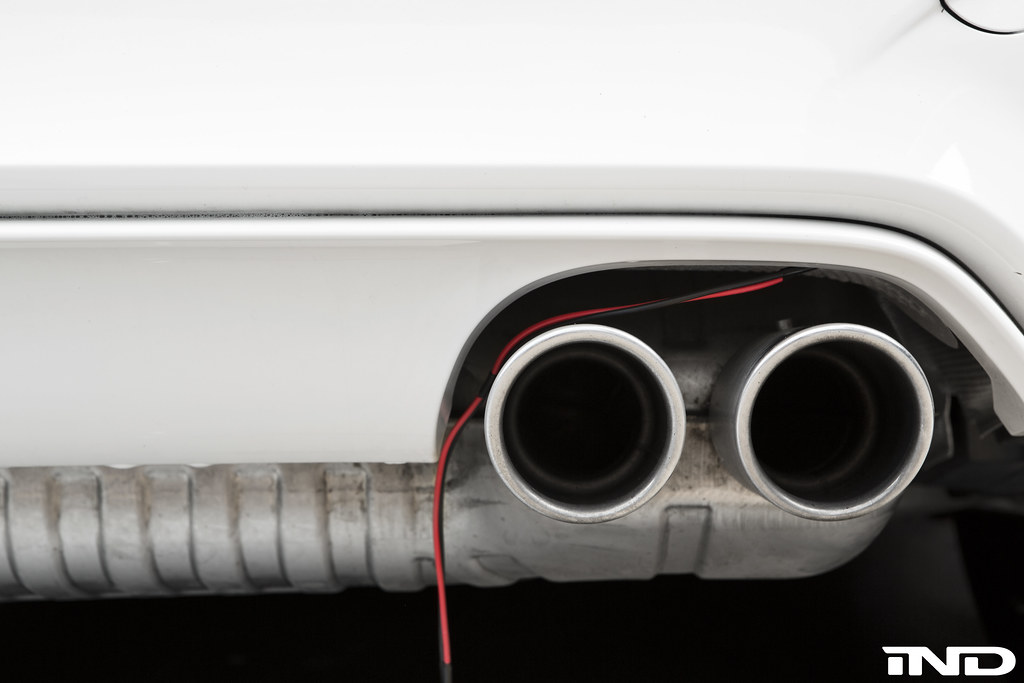 Step 4: With the line in the correct location, it is now time to focus on the connections. You will be tapping into the PnP connector that connects to the rear passenger taillight. The two wires to focus on are the brown color coded wire and black/blue wire. Using two wire tap splice connectors, connect the red wire with the black/blue. After this is complete, use the second connector and mate the black wire with the brown wire. Photo breakdown below: Red Black/Blue 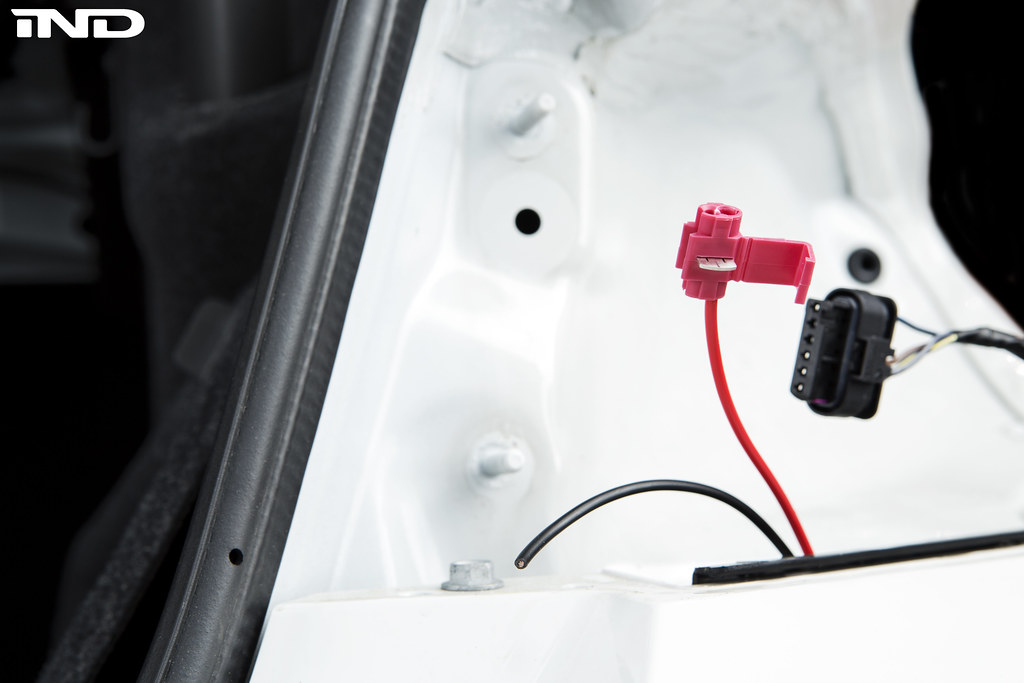 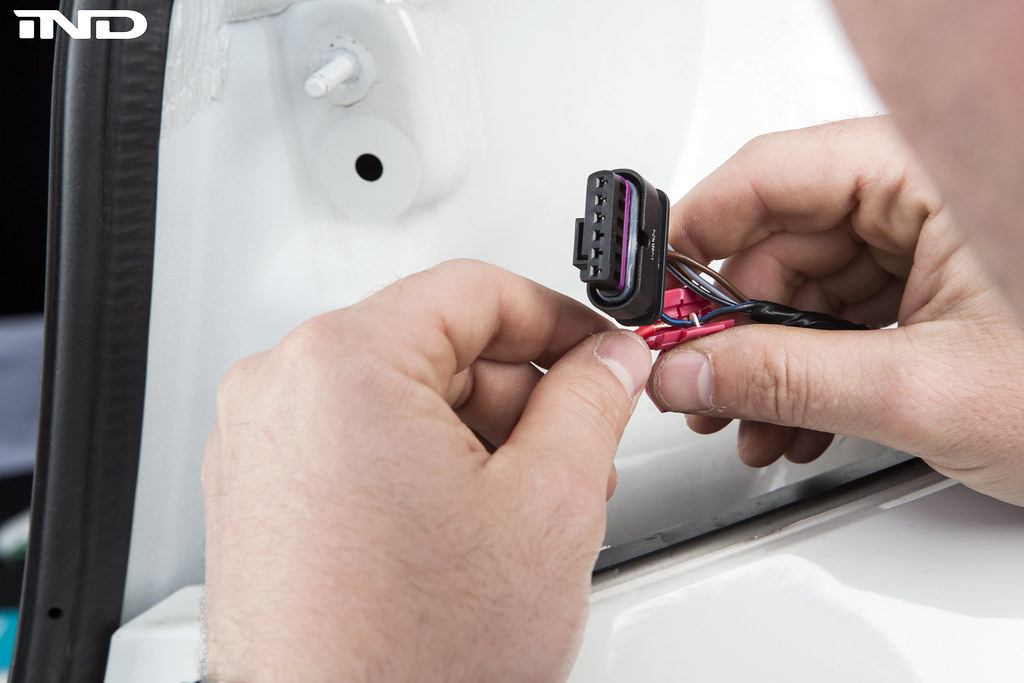  Black - Brown 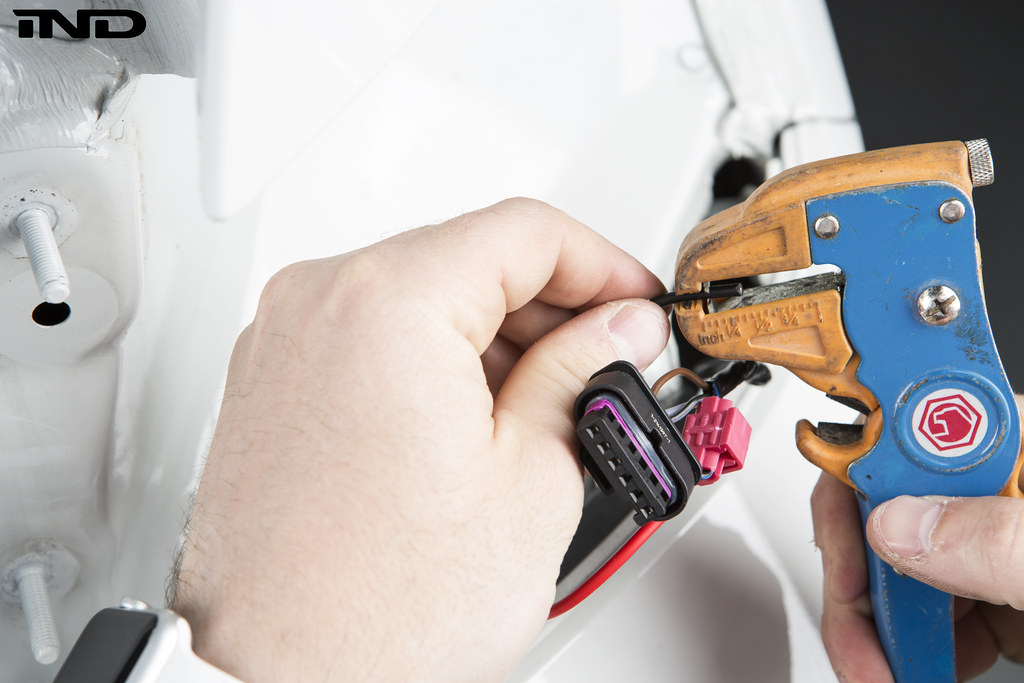 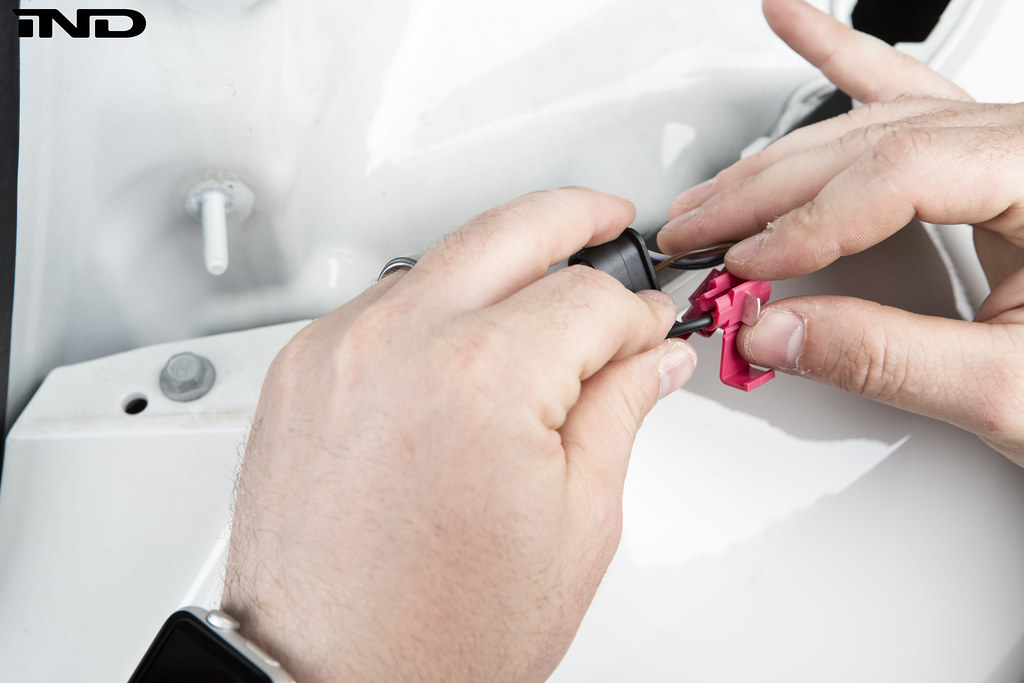 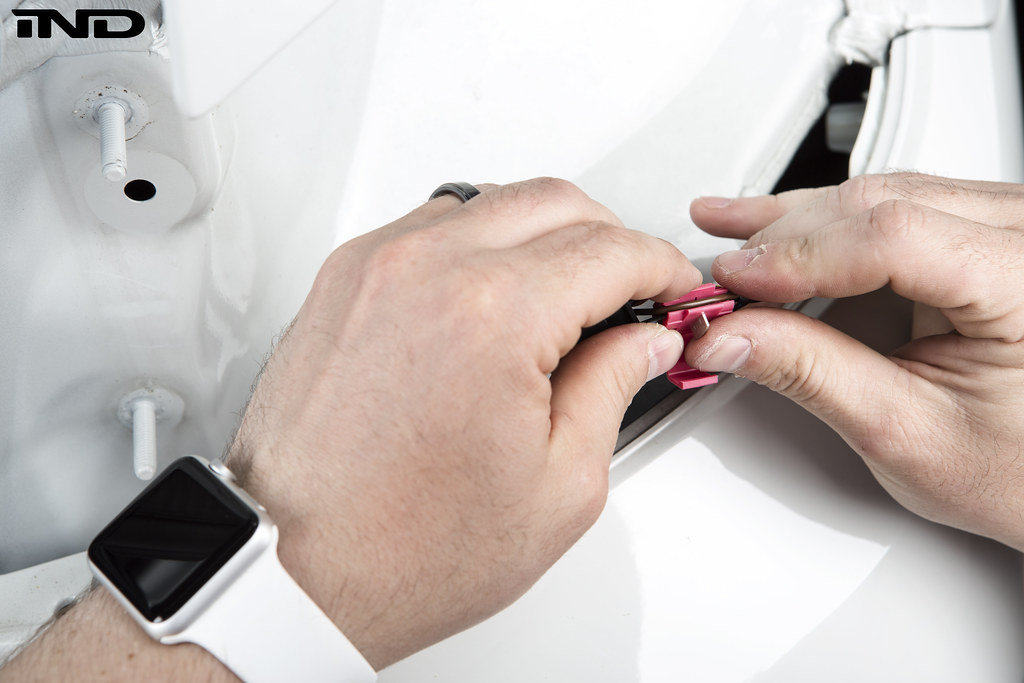 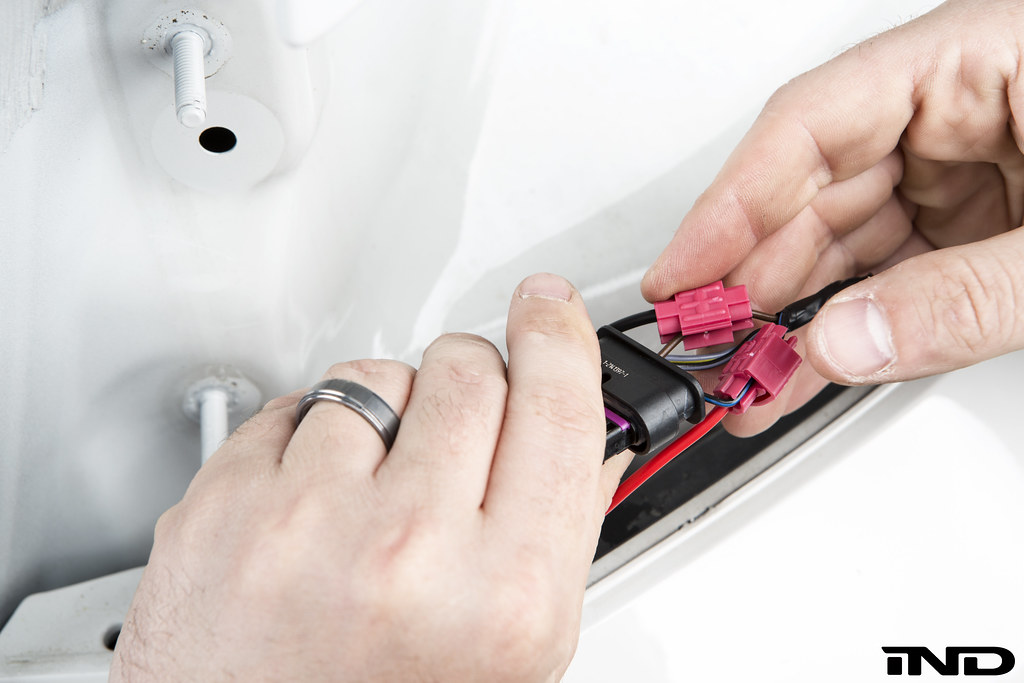 Step 5: Using two heat shrink sleeve connectors, we now focus on connecting the Kohlenstoff LED module with our black and red wires. Please be sure to rest the diffuser on an object that will not scratch the finish. Also, this is where a little extra slack is quite the luxury. This step is fairly simple. Strip the ends of the red Kohlenstoff wire and our red wire. Join these with the heat shrink sleeve connector. Now repeat with both black wires. 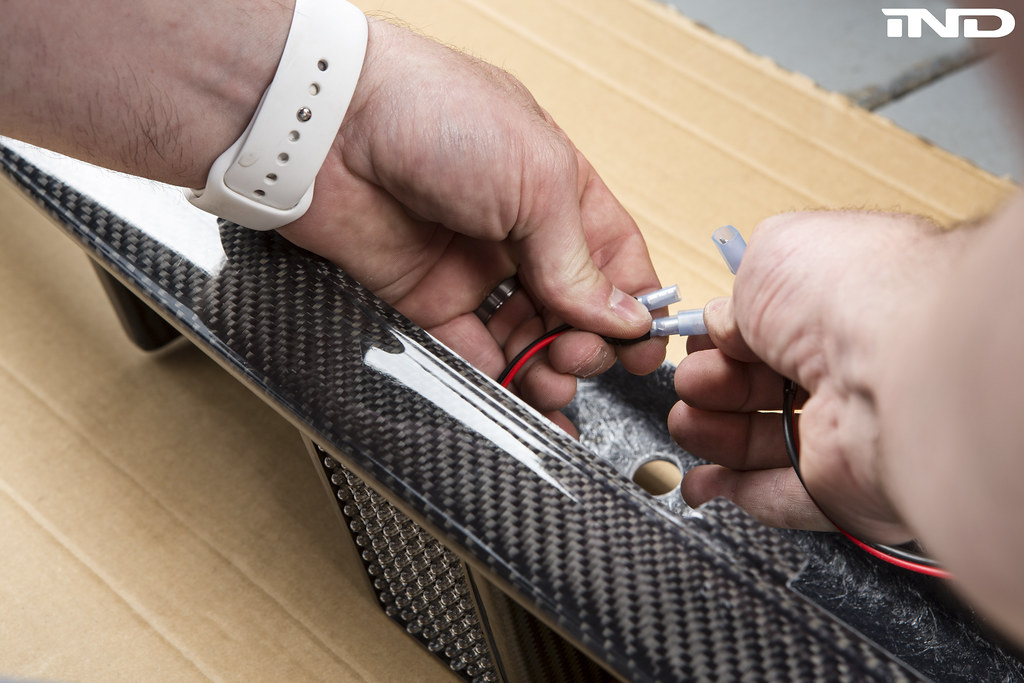 Step 6 - Removal of the factory rear diffuser
  The below video shows this removal during the RKP diffuser install: Step 7 - Install the Kohlenstoff rear diffuser
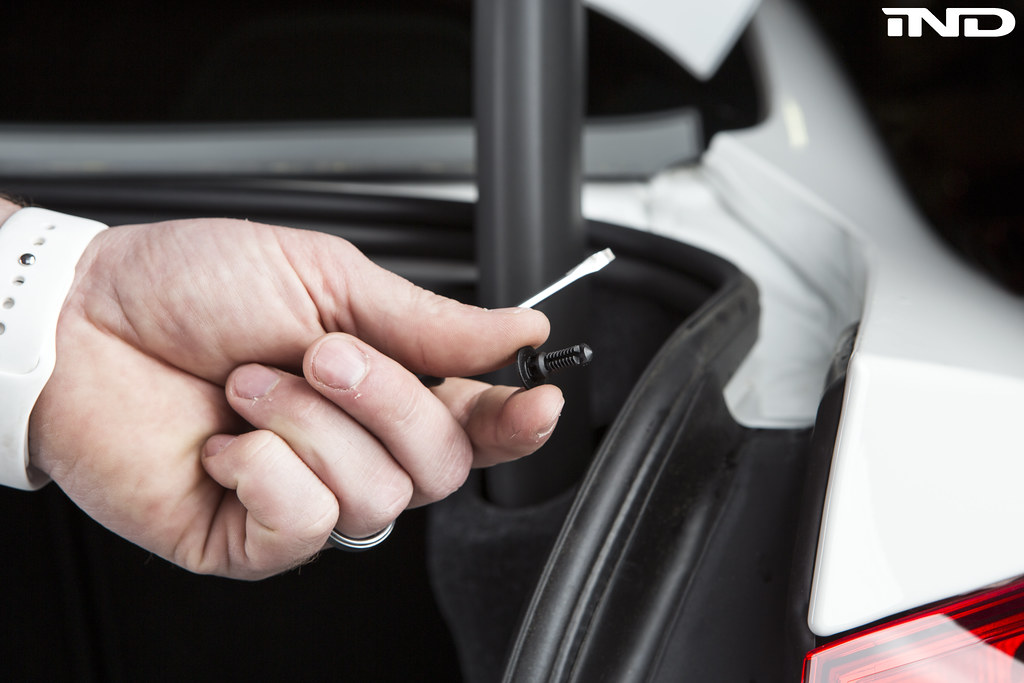
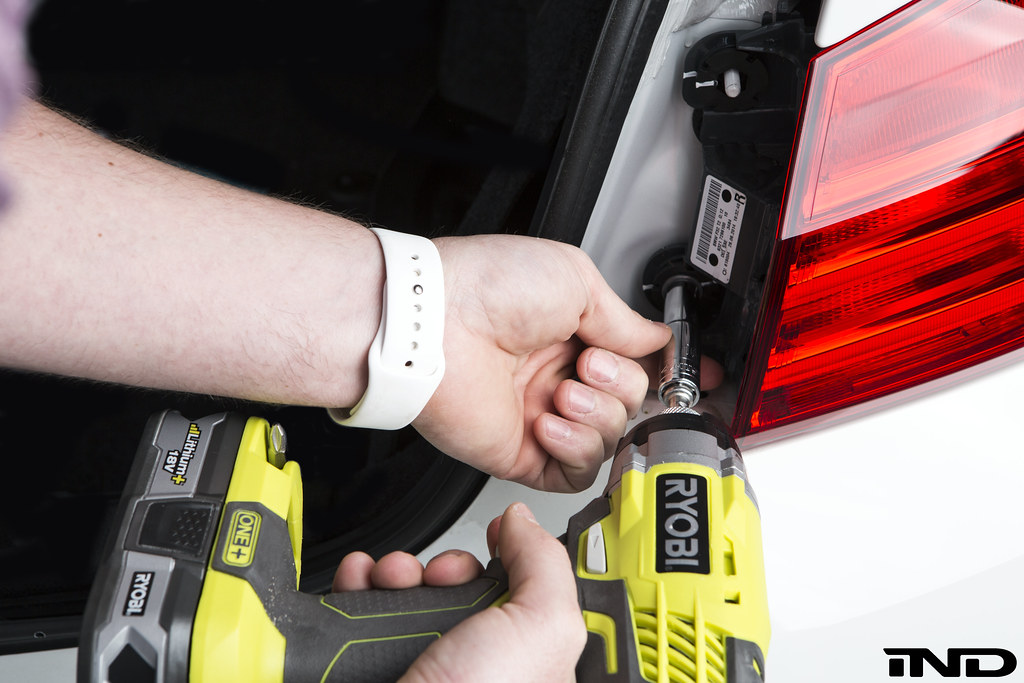
    Step 8: Before installing the passenger taillight, secure and protect all connections with electrical tape. 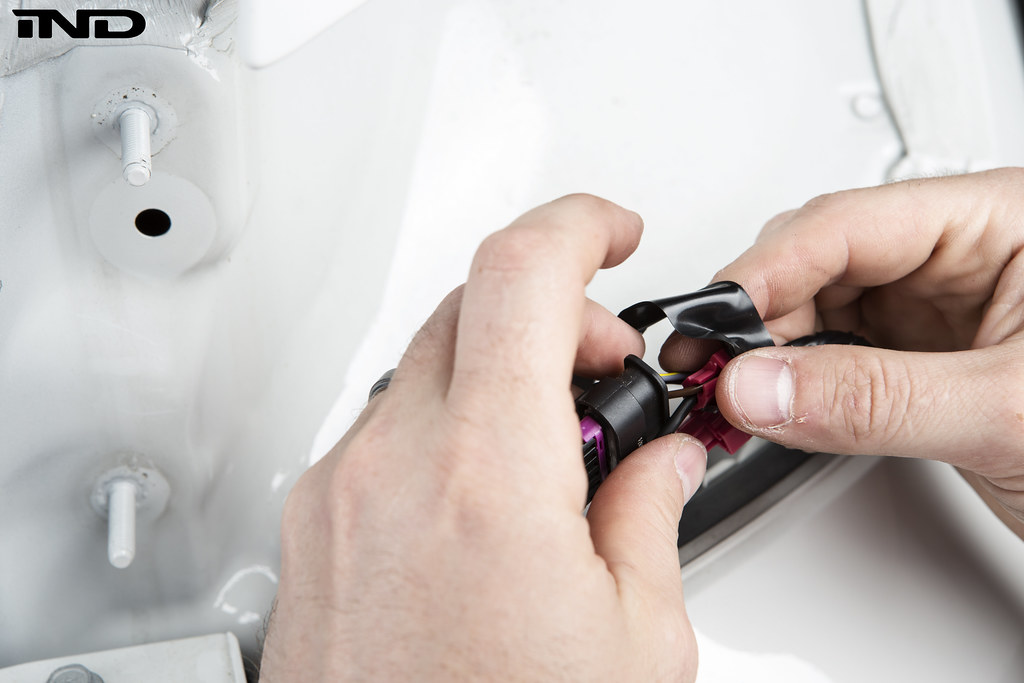 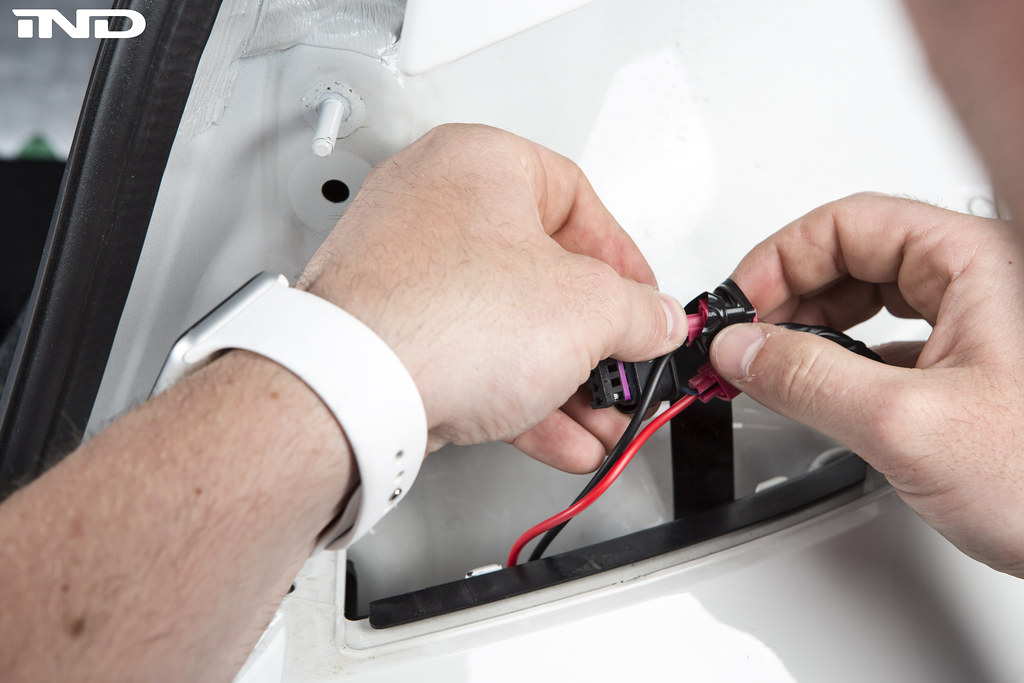 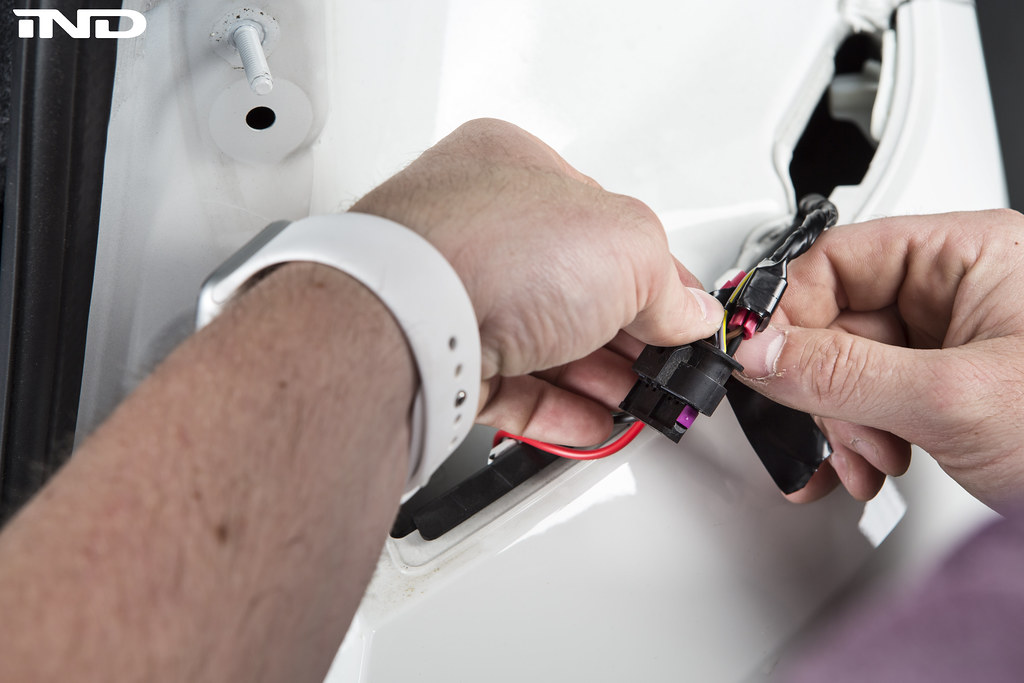 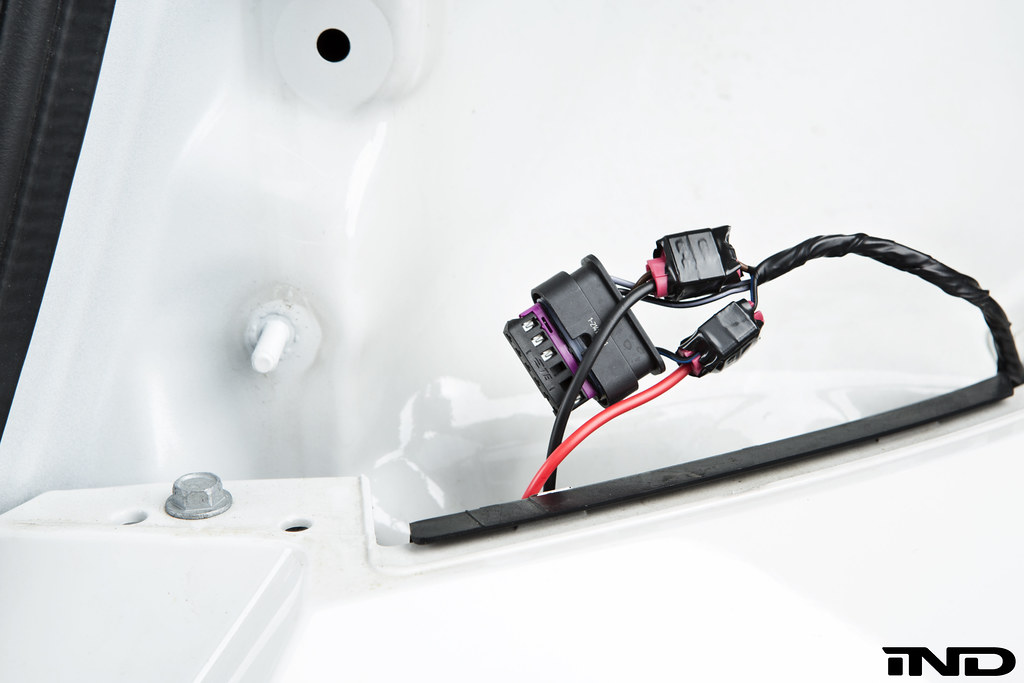  Step 9: Install the PnP connector into the passenger tailight 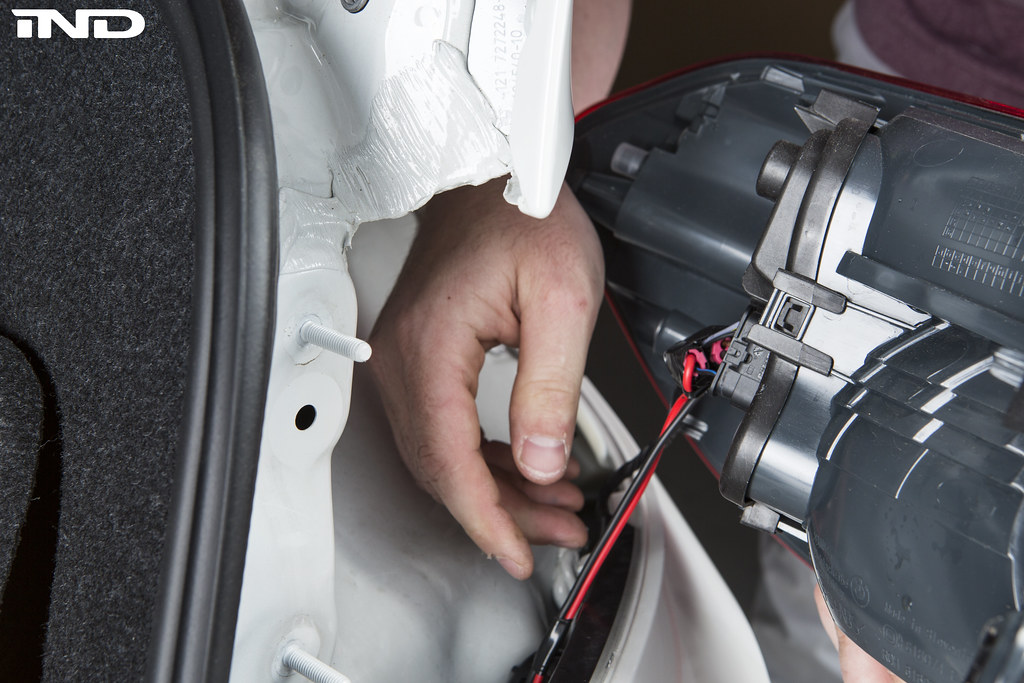 Step 10: Align the passenger taillight with the mounting tabs and push forward while applying light pressure. 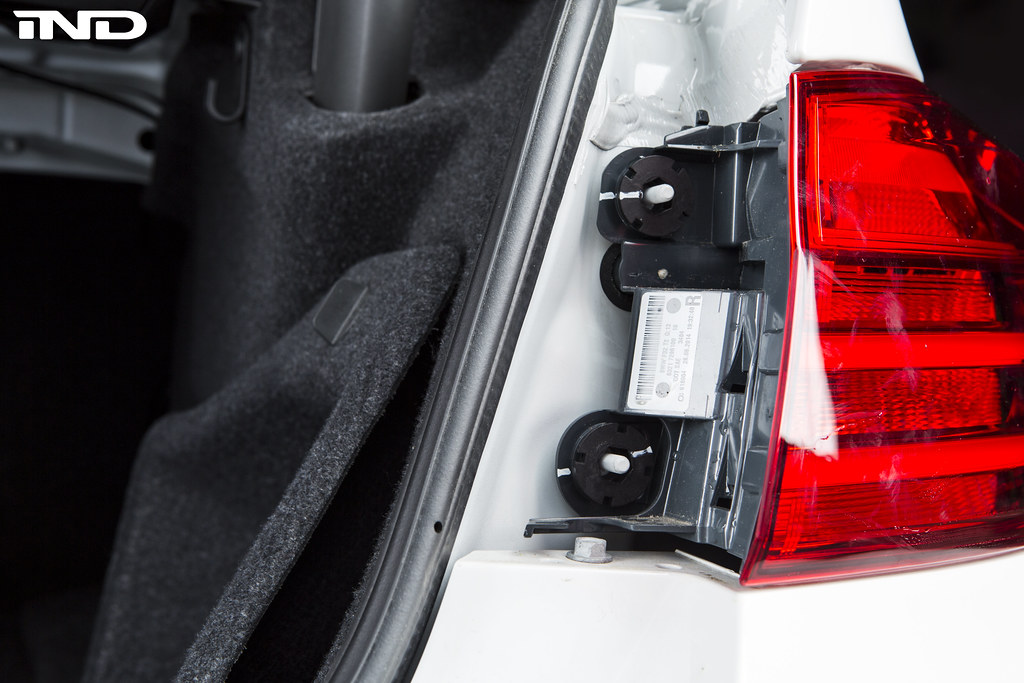 Step 11: Using a ratchet or drill install the two 10mm nuts. Then install the plastic cover with the rivet located at the top inside edge of the taillight. 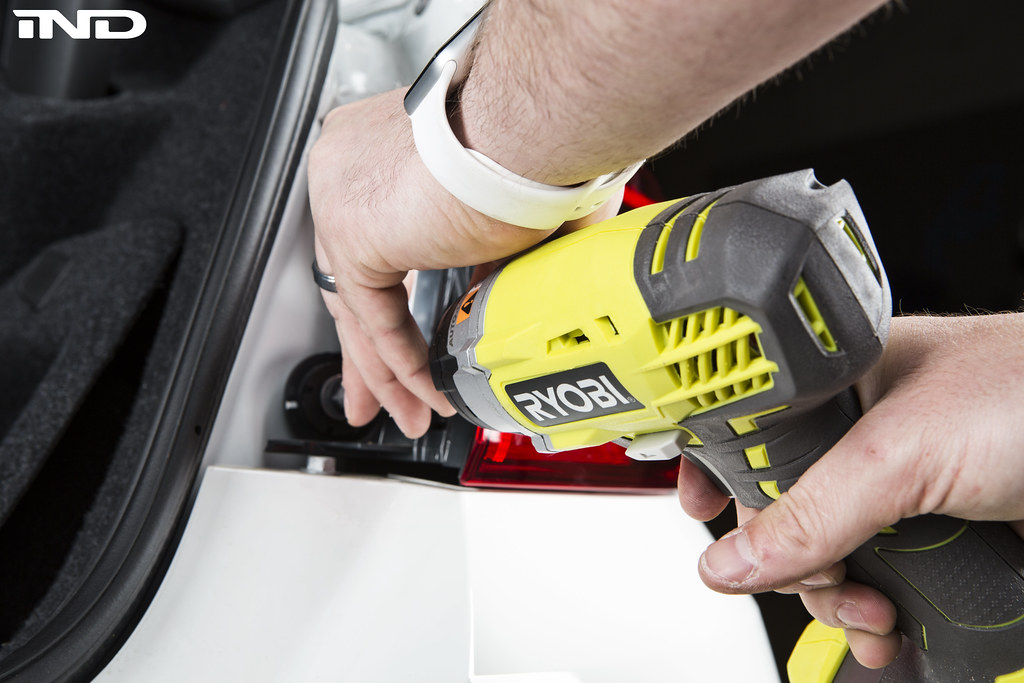 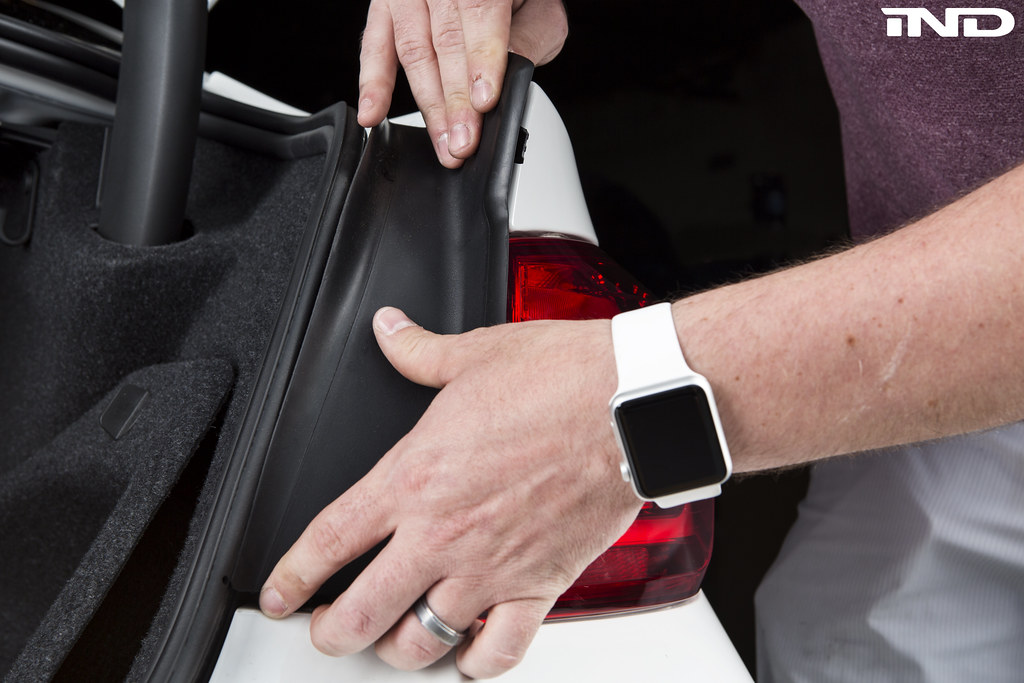 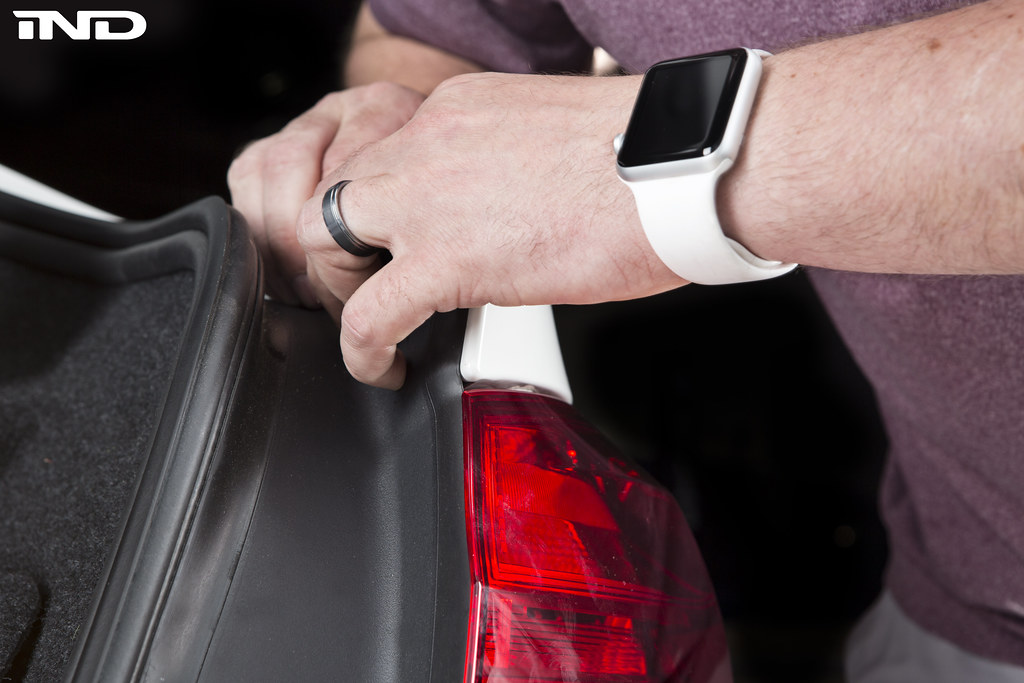 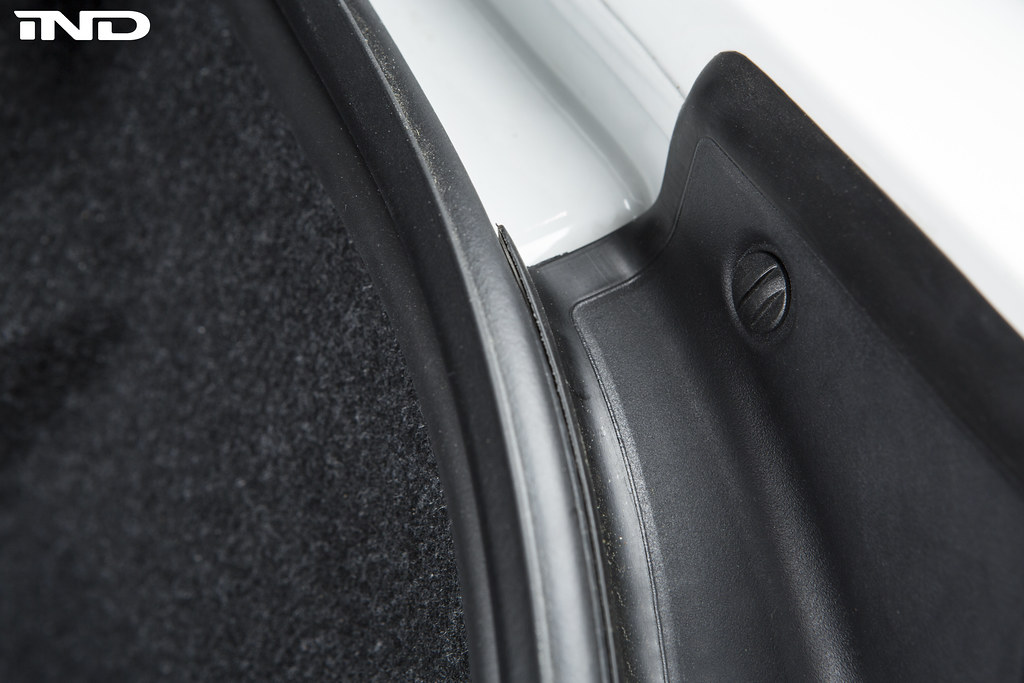 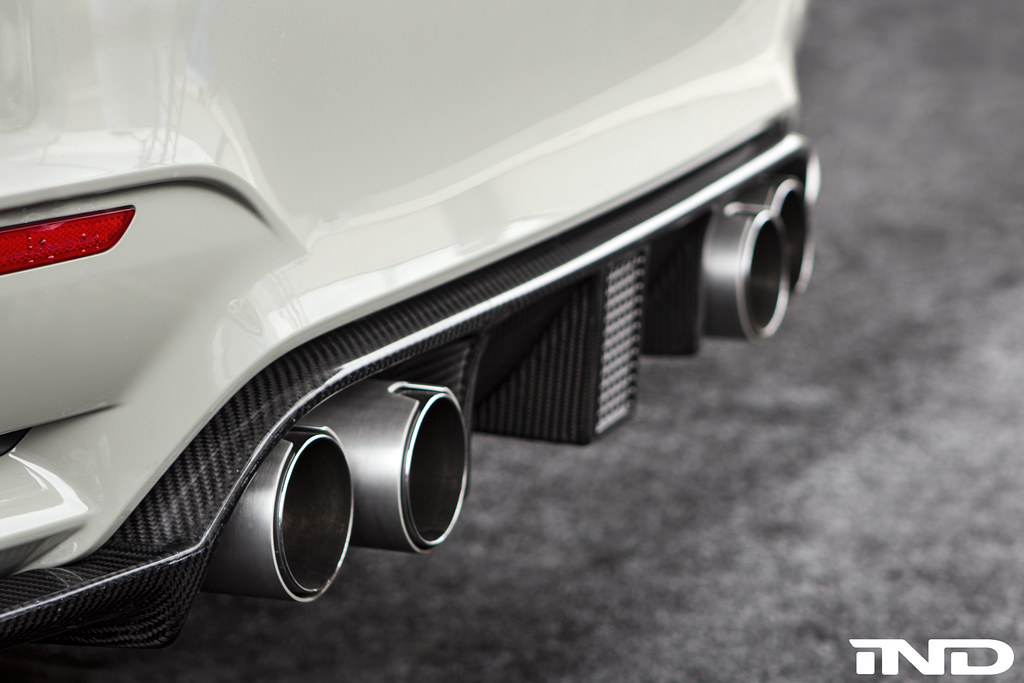 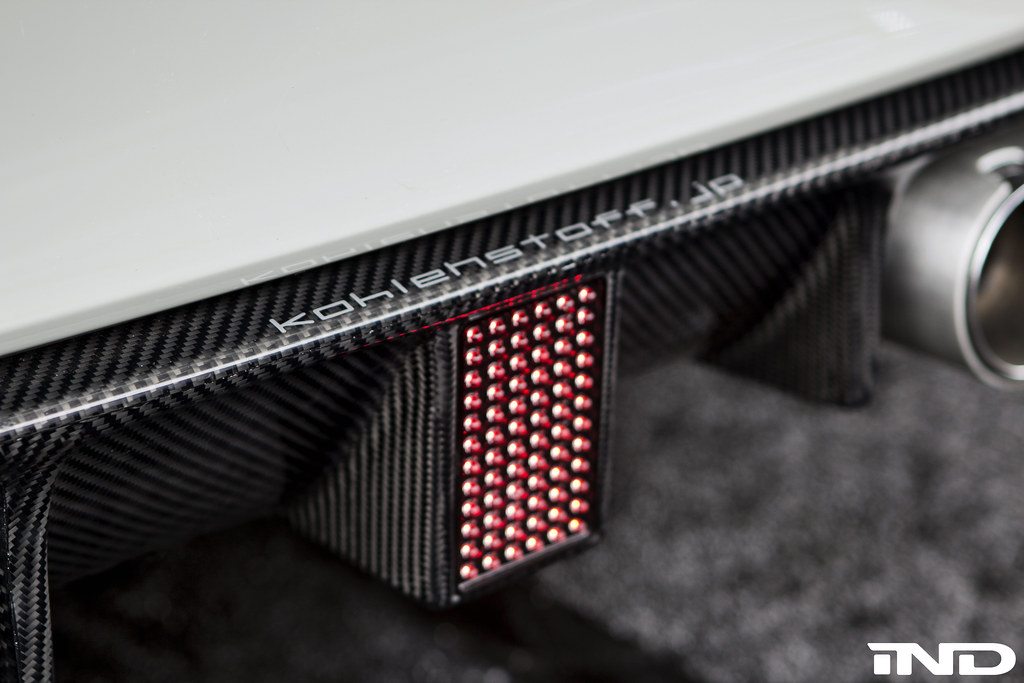
__________________
Last edited by Ryan@IND; 02-02-2016 at 02:51 PM.. |
| 06-02-2015, 11:04 PM | #2 |
|
First Lieutenant
 
124
Rep 299
Posts
Drives: 2020 M2c - 6 speed
Join Date: May 2011
Location: Los Angeles
|
omg i need this diffuser lol

__________________
Current: 2015 F82 M4 | MW/SO | M Performance Parts / KW Sleeve / Hüper Drei 35 / Blackboxguard / Stormtrooper valvestems
Previous: 2011 e92 M3 | SG/FoxRed | ModeCarbon V2/ KW Sleeve/ Vorsteiner bootlid/ Arkym diffuser / Hüper Ceramic 15 Other Previous: F430, F355 & F328 |
|
Appreciate
0
|
| 06-03-2015, 10:10 AM | #5 | |
|
1765
Rep 7,650
Posts |
Quote:
__________________
|
|
|
Appreciate
0
|
| 03-05-2018, 01:10 AM | #6 |
|
Private First Class
 150
Rep 163
Posts |
Interested in this.
How complicated will it be to wire this up to turn on with the rear fogs? I've done the LCI tailight upgrade and as well have done the emergency brake light mod (rear fogs flash during hard braking). I'm not a fan of having them light up everytime I brake...but for emergency braking and for them to function as rear fogs it would much cleaner. Is this possible? |
|
Appreciate
0
|
| 01-22-2019, 05:42 PM | #7 |
|
Second Lieutenant

29
Rep 270
Posts |
Nice products as always IND!
Is there any aftermarket connector / harness that we can buy to avoid spicing the factory taillight wiring? Just a bit of OCD and doesn't want to do any permanent mod to the car, and I return the call to full stock condition if needed
__________________
Sapphire Black M4 | iPE - Valvetronic exhaust | VRSF 3″ catless dp | Bootmod 3 Stage 2 | OEM LED alcantara steering wheel | OEM M4 GTS CF hood | Vorsteiner GT wing | M Performance CF splitter | Vorsteiner CF front lip | M Performance CF side skirt extension | 3D CF diffuser | OEM CF mirror cap | H&R lower spring | Rays Engineering TE37 Ultra Bronze 20x10F 20x11R
|
|
Appreciate
0
|
| 01-25-2019, 03:22 PM | #8 | |
|
Major

614
Rep 1,133
Posts |
Quote:
__________________
It's good to be bad
|
|
|
Appreciate
0
|
| 08-11-2020, 09:03 PM | #9 |
|
Second Lieutenant
367
Rep 257
Posts |
So excited to have this diffuser installed. Of all the mods I have done, this one is the sweetest. Absolutely stunning!
Last edited by flexspec; 08-13-2020 at 11:23 AM.. |
|
Appreciate
3
|
| 02-24-2021, 09:35 PM | #11 |
|
Second Lieutenant
367
Rep 257
Posts |
Quick update on the diffuser - looks much better with a proper exhaust setup. Also - I had the exhaust wrapper in clear XPEL PPF.
I have no other comments. Overall a well made product that fits well. Kudos to @houstoncarenthusiast for the awesome pics Cheers!!
__________________
IG: @FLEXSPEC
|
|
Appreciate
0
|
| 06-11-2023, 02:54 PM | #12 |
|
New Member
0
Rep 19
Posts
Drives: 18' F80 ZCP Grigio Telesto
Join Date: Feb 2017
Location: somewhere on East Coast
|
I've had these for over 4 years now and noticed quite a few led lights have died.
Any idea if there's replacement leds available? would hate to have to buy a whole new diffuser. |
|
Appreciate
0
|
Post Reply |
| Bookmarks |
|
|


 ?
?
 I might get this or 3D Design!!


